Blog
How To Insulate Your Garage Door To Save On Heat
Winter hits and your garage turns into a freezer. Most garage doors do almost nothing to stop the cold. Metal panels suck the warmth right out of the room. Your heater runs twice as long. The bill goes up. You do not need a new door to fix this. A weekend of work with foam board and weatherstripping makes a huge difference. And yes, factory-insulated doors are better. But retrofitting works fine for most people.
What You Are Fighting Against
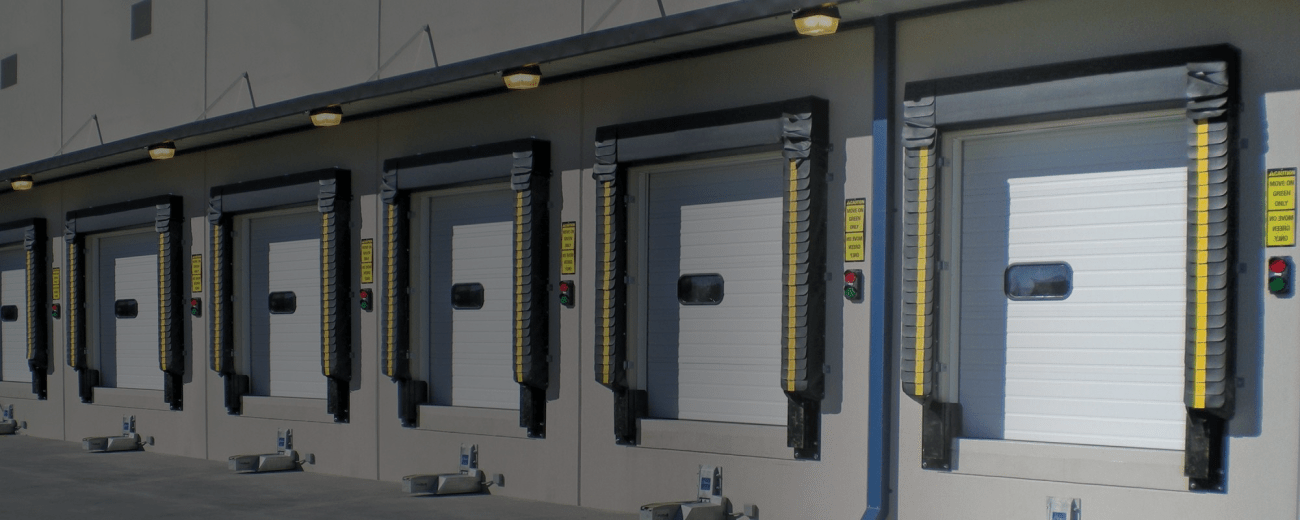
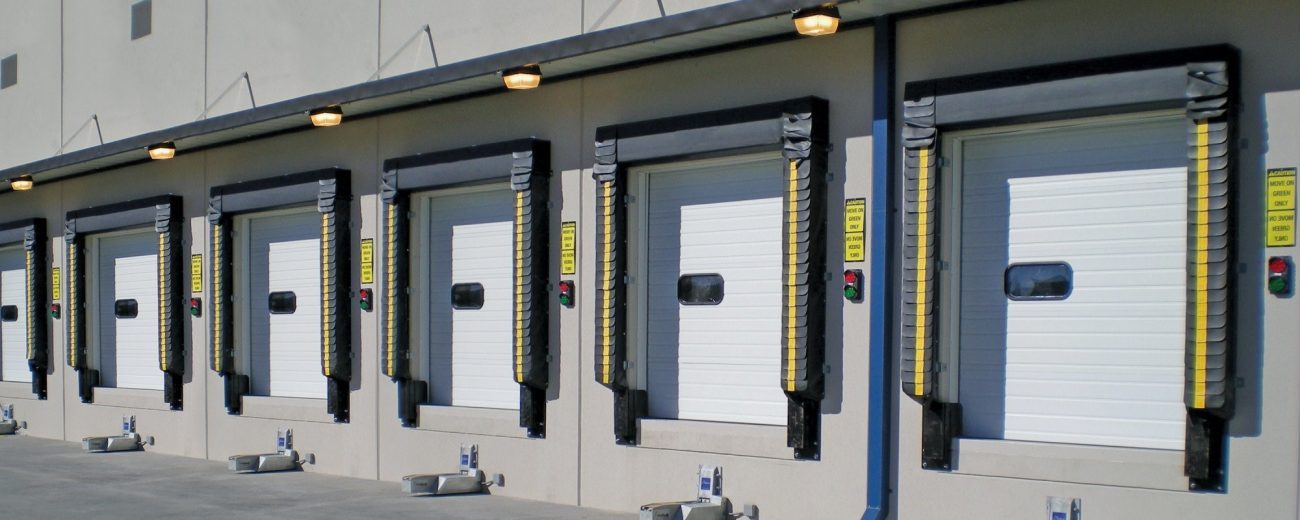
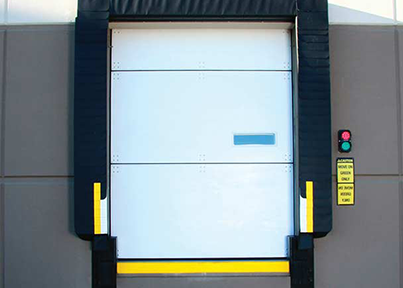
A standard single-layer steel garage door has no insulation at all. Touch the inside on a twenty-degree morning. It feels like the outside. Cold transfers straight through the metal. Air sneaks in between the panels. Warm air rises and escapes through the top gaps. The bottom seal usually leaks, too. Your space heater keeps kicking on every few minutes. That gets expensive fast.
Insulated doors come with foam already injected between two steel skins. High R-value. Clean look. But they cost money. If your current door is structurally fine, just cold, retrofit it.
Grab These Things First
You need a tape measure. A utility knife with fresh blades. A straight edge. A staple gun. And foam insulation boards. Polystyrene boards give you about R-4 to R-6 per inch. Good enough. Polyiso boards cost more but perform better. Skip fiberglass batts entirely. They soak up moisture from humidity and sag down inside the door panels.
Measure each panel separately. Garage doors are rarely perfectly square. Cut each board to fit inside the panel recess. Leave a small gap, maybe a quarter inch, so the foam can expand on a hot day without buckling.
How To Stick It In
Clean the inside of every panel first. Grease and dust kill adhesive bonds. Wipe it down. Let it dry.
Press each foam board into the recess. If the recess is an inch and a quarter deep, use one inch-thick foam. That leaves air space. No need to fill it completely tight.
Use panel adhesive or heavy-duty double-sided tape to hold the board in place. Squirt a few beads of adhesive on the back. Press the foam in. For extra security, staple the edges where the foam meets the metal lip. Do not staple through the outer panel. Just into the recess lip.
Some guys skip adhesive entirely and wrap the foam in reflective tape. That works too. Takes longer but holds fine.
Stop The Air Leaks, or None Of This Matters
Insulation inside the panels stops conductive heat loss. But air leaks around the door will wreck your savings. Check the bottom rubber seal. Cracks? Flattened? Replace it. Look at the vinyl weatherstripping on the sides and top. It should press firmly against the door when closed.
Test with a piece of paper. Close the door on a dollar bill. If you can pull the bill out without resistance, the seal is loose. Adjust the track brackets to push the door tighter against the stop molding. Do not go crazy. The door still needs to roll up without binding.
What Changes After You Finish
Your garage will stay noticeably warmer. The inside surface of the door will feel cool, not freezing. Your heater will cycle half as often. Summer cooling improves too if you have AC in there. Outside noise drops. The door will feel a bit heavier but most openers handle the extra pounds.
If your door is old, dented, or poorly fitted to begin with, do not bother retrofitting. Buy insulated doors instead. Better R-value. Better looks. No hassle. But for a garage you work in or store stuff in, a weekend with foam boards and tape saves you real money.